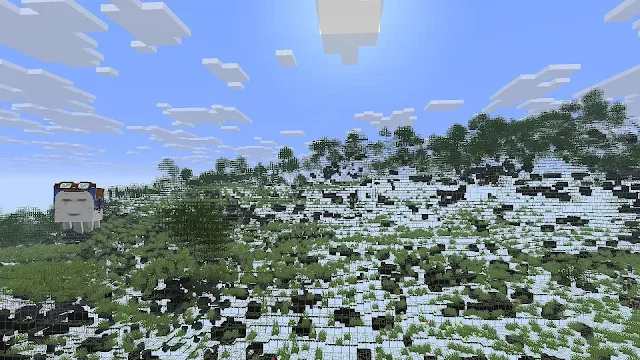
If you're tired of digging aimlessly for ores and hidden structures in Minecraft, an X-ray resource pack for version 1.21.7 might just be your new favorite tool. This clever pack gives you a transparent view of your world, helping you quickly locate valuable resources like diamonds, trial chambers, and strongholds—without installing any mods or external tools.
Also Check: Minecraft Copper Golem Guide (2025): How to Craft, Use, and Customize It
Whether you're a casual explorer or a hardcore survival player, here's a complete guide on how to get and use X-ray in Minecraft 1.21.7.
What Is an X-ray Resource Pack in Minecraft?
An X-ray resource pack changes how blocks render in your game, making most blocks transparent while highlighting valuable ones like ores and spawners. It's an easy way to "see through" the world and pinpoint exactly where you want to mine or explore.
Unlike X-ray mods, which require external APIs or launchers, resource packs work natively with Minecraft’s in-game settings—making them lightweight, safer, and easier to install, especially for single-player use.
Important: Many multiplayer servers and Realms ban the use of X-ray packs. Always check the server rules before enabling it online. In your offline worlds, though—what you do is up to you.
How to Install the X-ray Pack in Minecraft 1.21.7

You can install an X-ray resource pack in just a few steps. One of the most popular options is Xray Ultimate by Filmjolk, but other packs work just as well. Here's how to do it:
Installation Steps:
-
Download a trusted X-ray resource pack (e.g., Xray Ultimate).
-
Launch Minecraft 1.21.7.
-
From the main menu, go to
Options > Resource Packs. -
Click
Open Pack Folder. This opens the folder where Minecraft stores your texture/resource packs. -
Drag and drop the downloaded
.zipfile into the folder. -
Go back to Minecraft. The X-ray pack will now appear in your list.
-
Click the arrow icon on the pack to enable it.
-
Make sure the X-ray pack is above the default pack in the list.
-
Click Done, and you’re all set!
Once active, the game will load with the X-ray visuals applied to your world.
How to Use the X-ray Pack in-Game
After installation, start or load a Minecraft world. You’ll immediately see the change: common blocks like dirt and stone will appear invisible, while ores, structures, and chests will stand out.
What You Can Find with X-ray:
- Diamond, emerald, iron, and other ores
- Trial chambers and spawners
- Strongholds and End portals
- Underground loot chests and mineshafts
- Hidden cave systems
There’s no need to toggle settings or use commands—the pack works automatically as long as it’s enabled.
For even better results, combine the X-ray pack with Night Vision resource packs or performance-enhancing tools like Optifine.
Why Use an X-ray Resource Pack?
Using X-ray in Minecraft 1.21.7 gives you a major advantage in both exploration and resource gathering. You’ll save hours of gameplay that would otherwise be spent digging blindly or hunting down loot locations.
Benefits:
- No mods or Forge needed
- Works with vanilla Minecraft
- Compatible with other visual or utility packs
- Easily enabled and disabled via Resource Pack menu
- Great for both beginner and expert players


0 Comments